How to Install Google Analytics 4 and GTM on Wix
Benjamin Mangold
How to Install Google Analytics 4 and Google Tag Manager on Wix (2025 Guide)
If you're using Wix to manage your website – whether it's for a business, blog, or portfolio – it's essential to understand how people engage with your content. In this step-by-step guide, you’ll learn how to install Google Analytics 4 (GA4) and Google Tag Manager (GTM) on your Wix website using the latest interface updates in 2025.
There are two ways to install GA4 on Wix:
- Use the built-in Google Tag integration for a quick and simple setup
- Use Google Tag Manager (GTM) for more advanced tracking and flexibility
We’ll walk through both options – but first, we will cover how to get your Wix, GA4, and GTM accounts ready.
Table of Contents
- 1. Upgrade to a Wix Premium Plan
- 2. Create a Google Analytics 4 Property
- 3. Create a Google Tag Manager Account and Container
- 4. Choose How to Install GA4 on Wix
- 5. Test Your Setup
- 6. Avoid Duplicate Installations in Wix
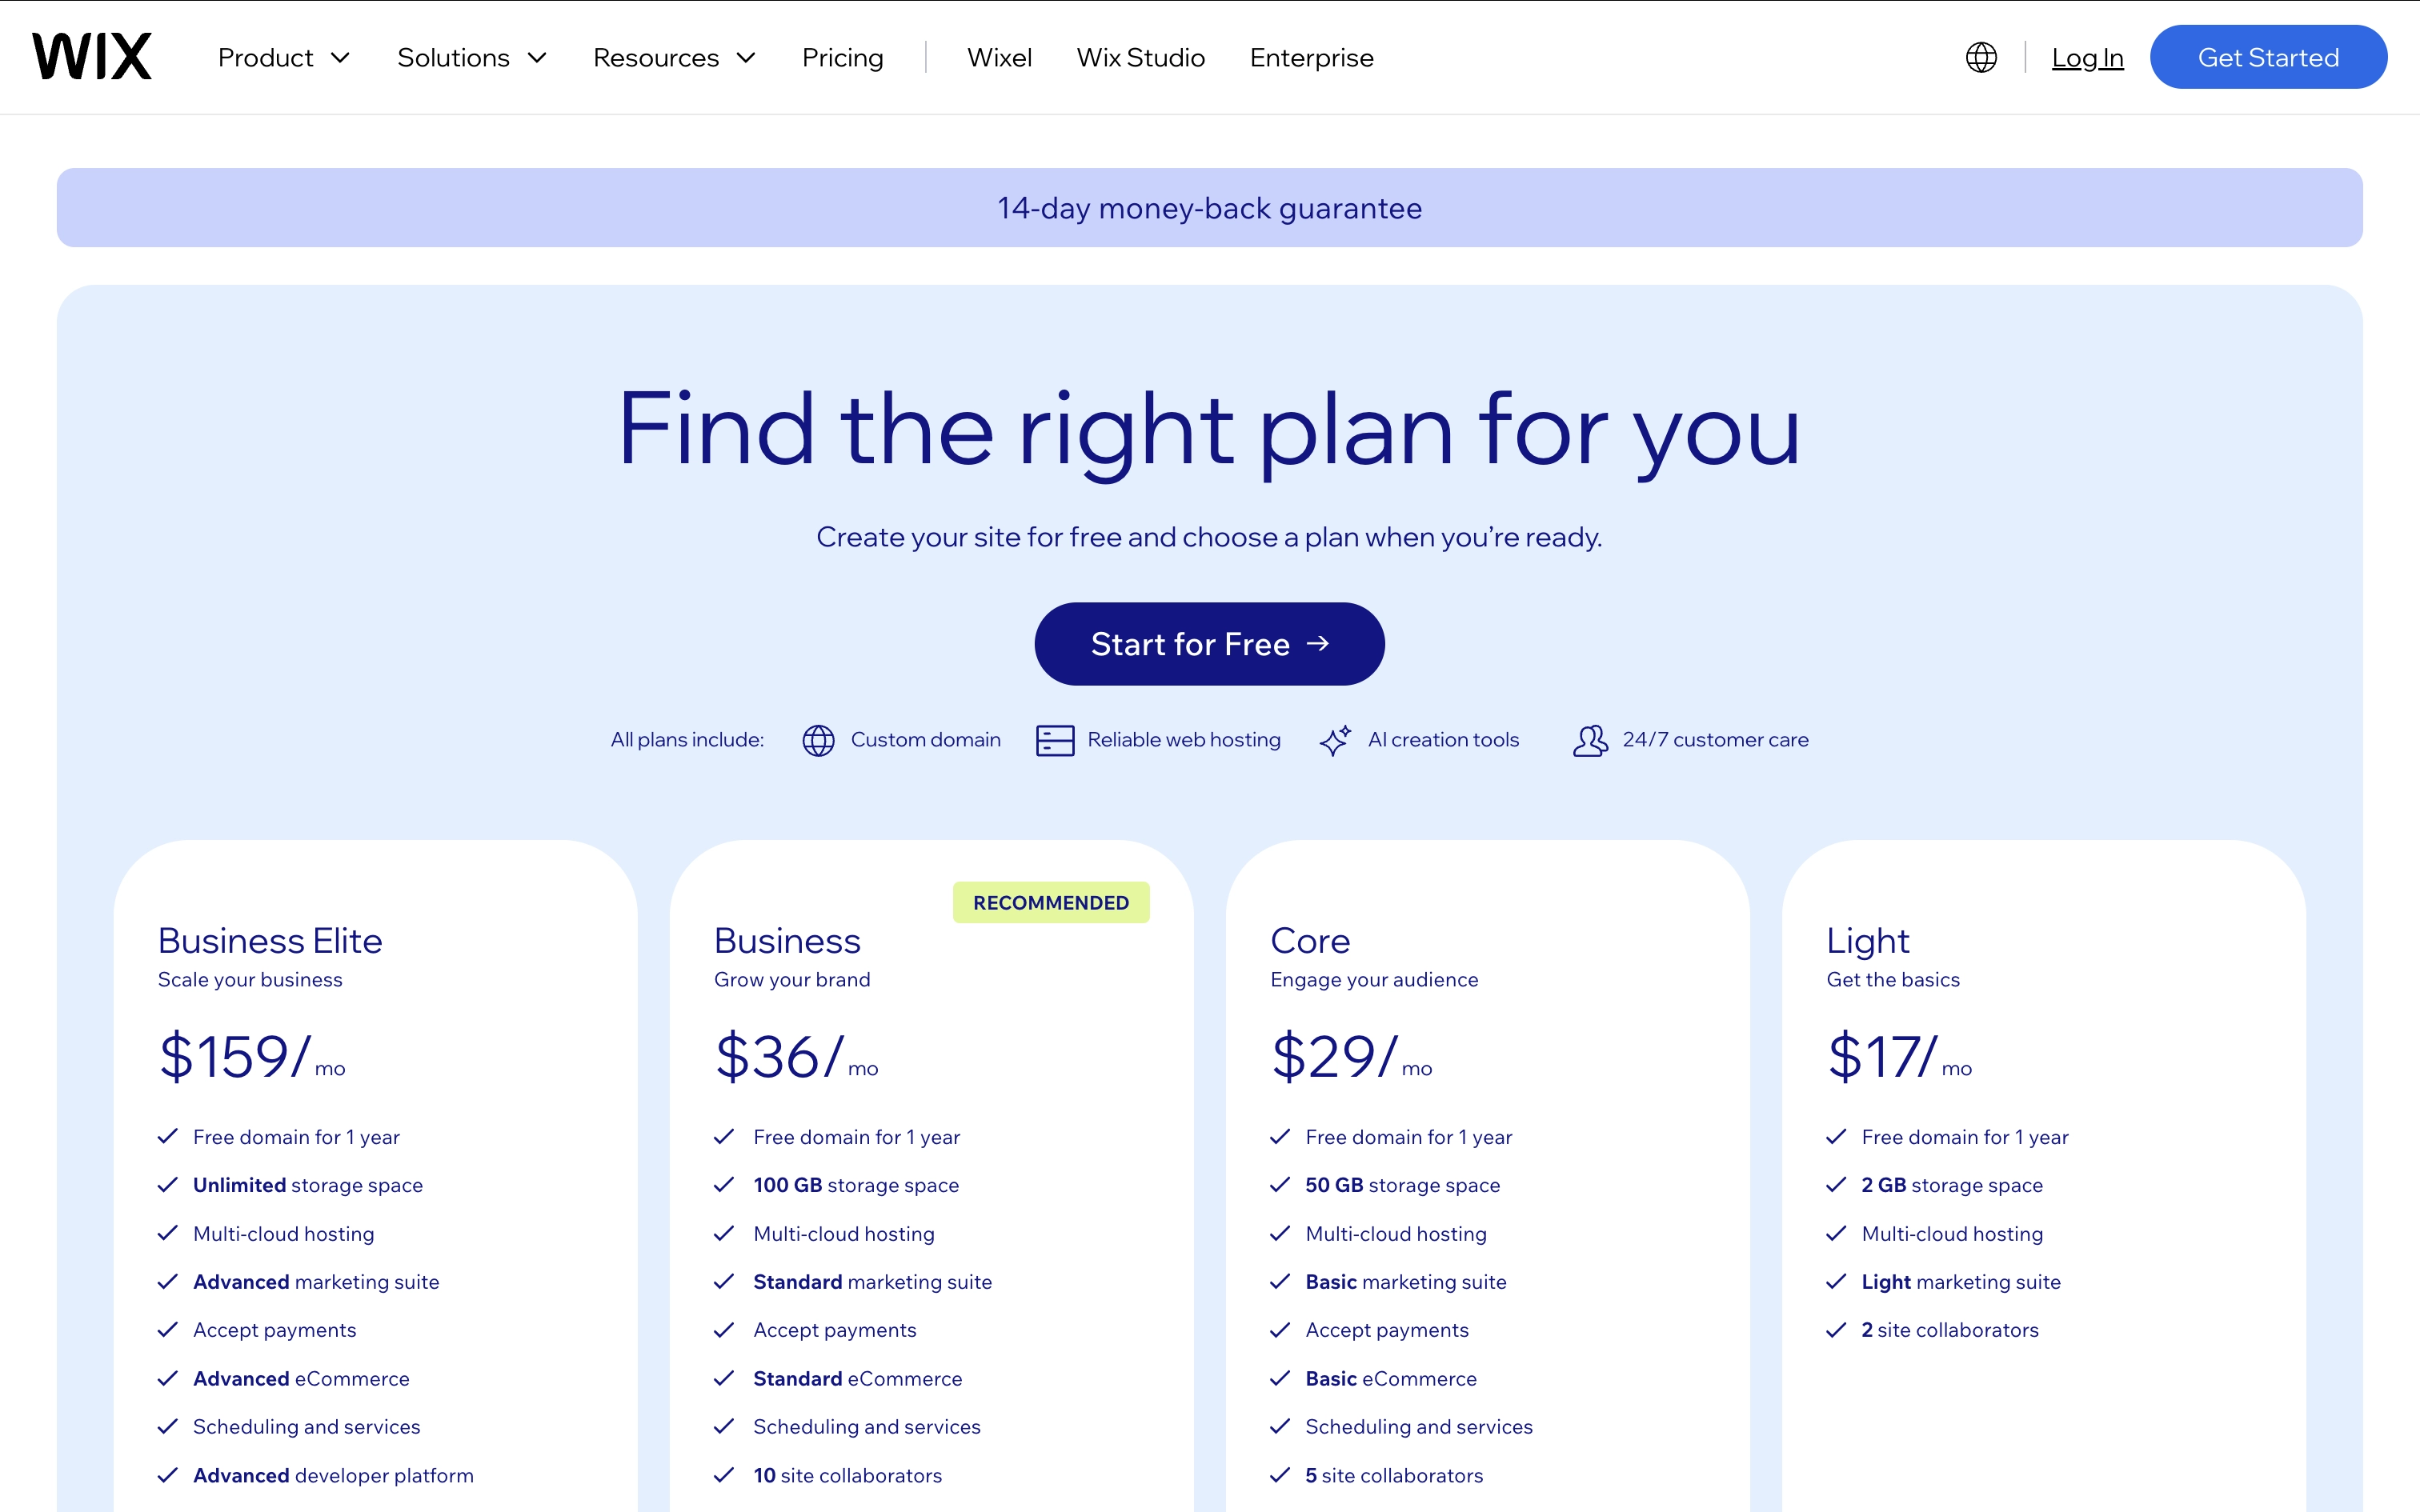
1. Upgrade to a Wix Premium Plan
You’ll need a Wix premium plan to add GA4 or GTM. This is required to connect a custom domain and access the full set of marketing integrations. If you haven’t upgraded yet, start by selecting the plan that fits your website requirements.
2. Create a Google Analytics 4 Property
If you don't already have a Google Analytics 4 account and property yet, you will need to create these first. Here are the steps to get up and running:
- Navigate to analytics.google.com and sign into the Google account you would like to use to access your reports.
- If you have an account and need to set up a new one for your Wix website, click 'Admin' in the bottom-left corner, then click 'Create' and select the option to create a new account. Otherwise, if you're just getting started with Google Analytics for the first time, you will be immediately prompted to create a new account.
- Name your account – this should generally be the name of your business or website.
- Name your property – this should be the name of your website. And if you're new to Google Analytics, a property is where you will find all of the reports for your Wix website.
- Follow the rest of the steps to create your account and property. If you would prefer to walk through these steps, I recommend watching my Google Analytics tutorial series on YouTube.
- When you get to the step to create a data stream, choose 'Web' as the data stream type.
- Copy your Measurement ID (it will look something like G-A1B2C3D4) – you'll need this in a moment.

Tip: If you've already created a Google Analytics property to use on your Wix website, you just need to copy your existing Measurement ID. You can find this by navigating to 'Admin', selecting 'Data Streams' (or by selecting 'Data Collection and Modification' and then 'Data Streams'), and opening the data stream you want to use on your Wix website.
3. Create a Google Tag Manager Account and Container
If you're going to use Google Tag Manager to manage tracking tags, including your Google Analytics tag on your Wix website, you will also need to have a Google Tag Manager account and container ready. If you already have this or you're not going to use Google Tag Manager, you can skip to the next step.
- Navigate to tagmanager.google.com and sign into your Google account.
- If you're getting started for the first time, follow the steps to create a new Google Tag Manager account. If you need a new account for your Wix website, click 'Create Account'.
- Enter your account name – this should generally be the name of your business or website.
- Enter the name of your website as the container name.
- Select 'Web' as the target platform.
- Click 'Create' and accept the terms.
- Copy your GTM container ID (it will look something like GTM-ABC123) – you’ll need this to connect GTM to Wix.
Tip: If you already have a Google Tag Manager container you would like to use on your Wix website, you just need to copy the container ID.
4. Choose How to Install GA4 on Wix
Now it’s time to install GA4 on your Wix site. There are two different methods you can use. You can use the Google Tag to send data directly to your GA4 reports or you can use Google Tag Manager.
If you only want to track you Wix website using GA4, then I recommend using the Google Tag integration. It's quick and easy to get up and running. However, if you need to send data to multiple platforms, like Google Analytics, Google Ads, Meta and more, then I recommend using Google Tag Manager. Using Google Tag Manager will add some extra steps, but it does provide more flexibility and advanced options.
We're going to cover both options, but let's start with the Google Tag.
Option 1: Install GA4 Using Google Tag
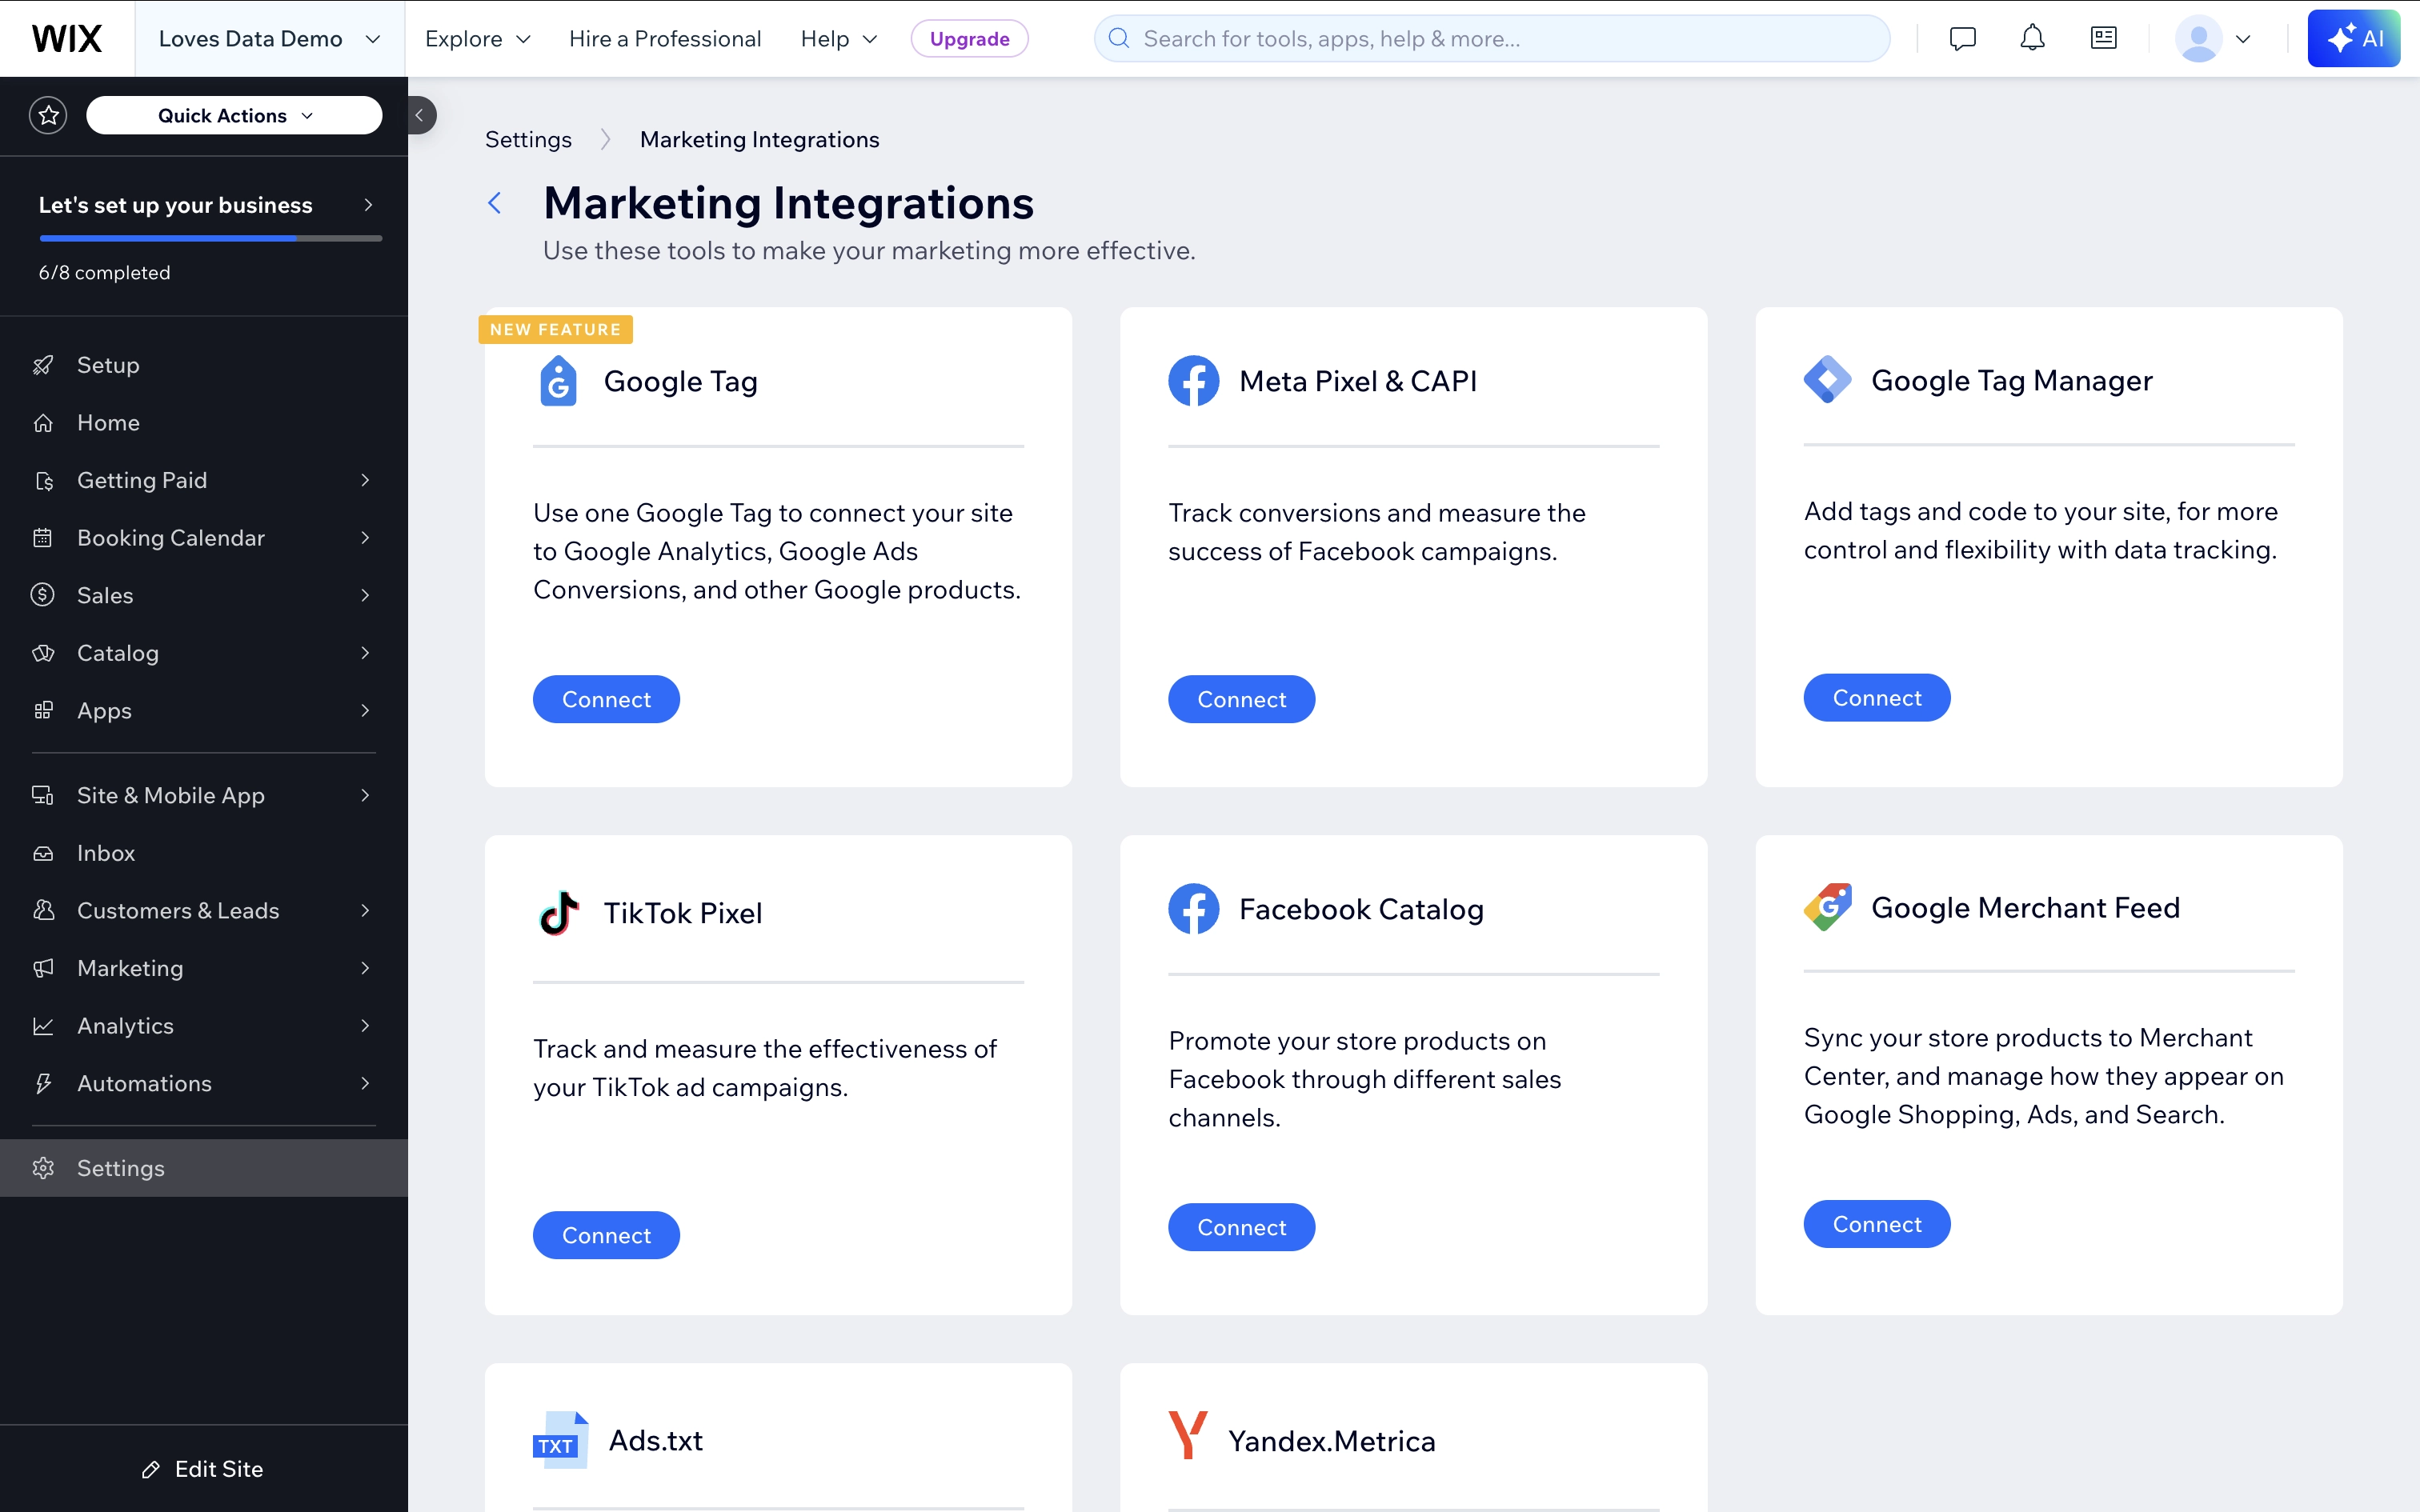
- In your Wix dashboard, navigate to 'Settings' and then 'Marketing Integrations'.
- Under 'Google Tag', click 'Connect'.
- Select 'Add Google Tag ID' and paste your GA4 Measurement ID that you copied earlier.
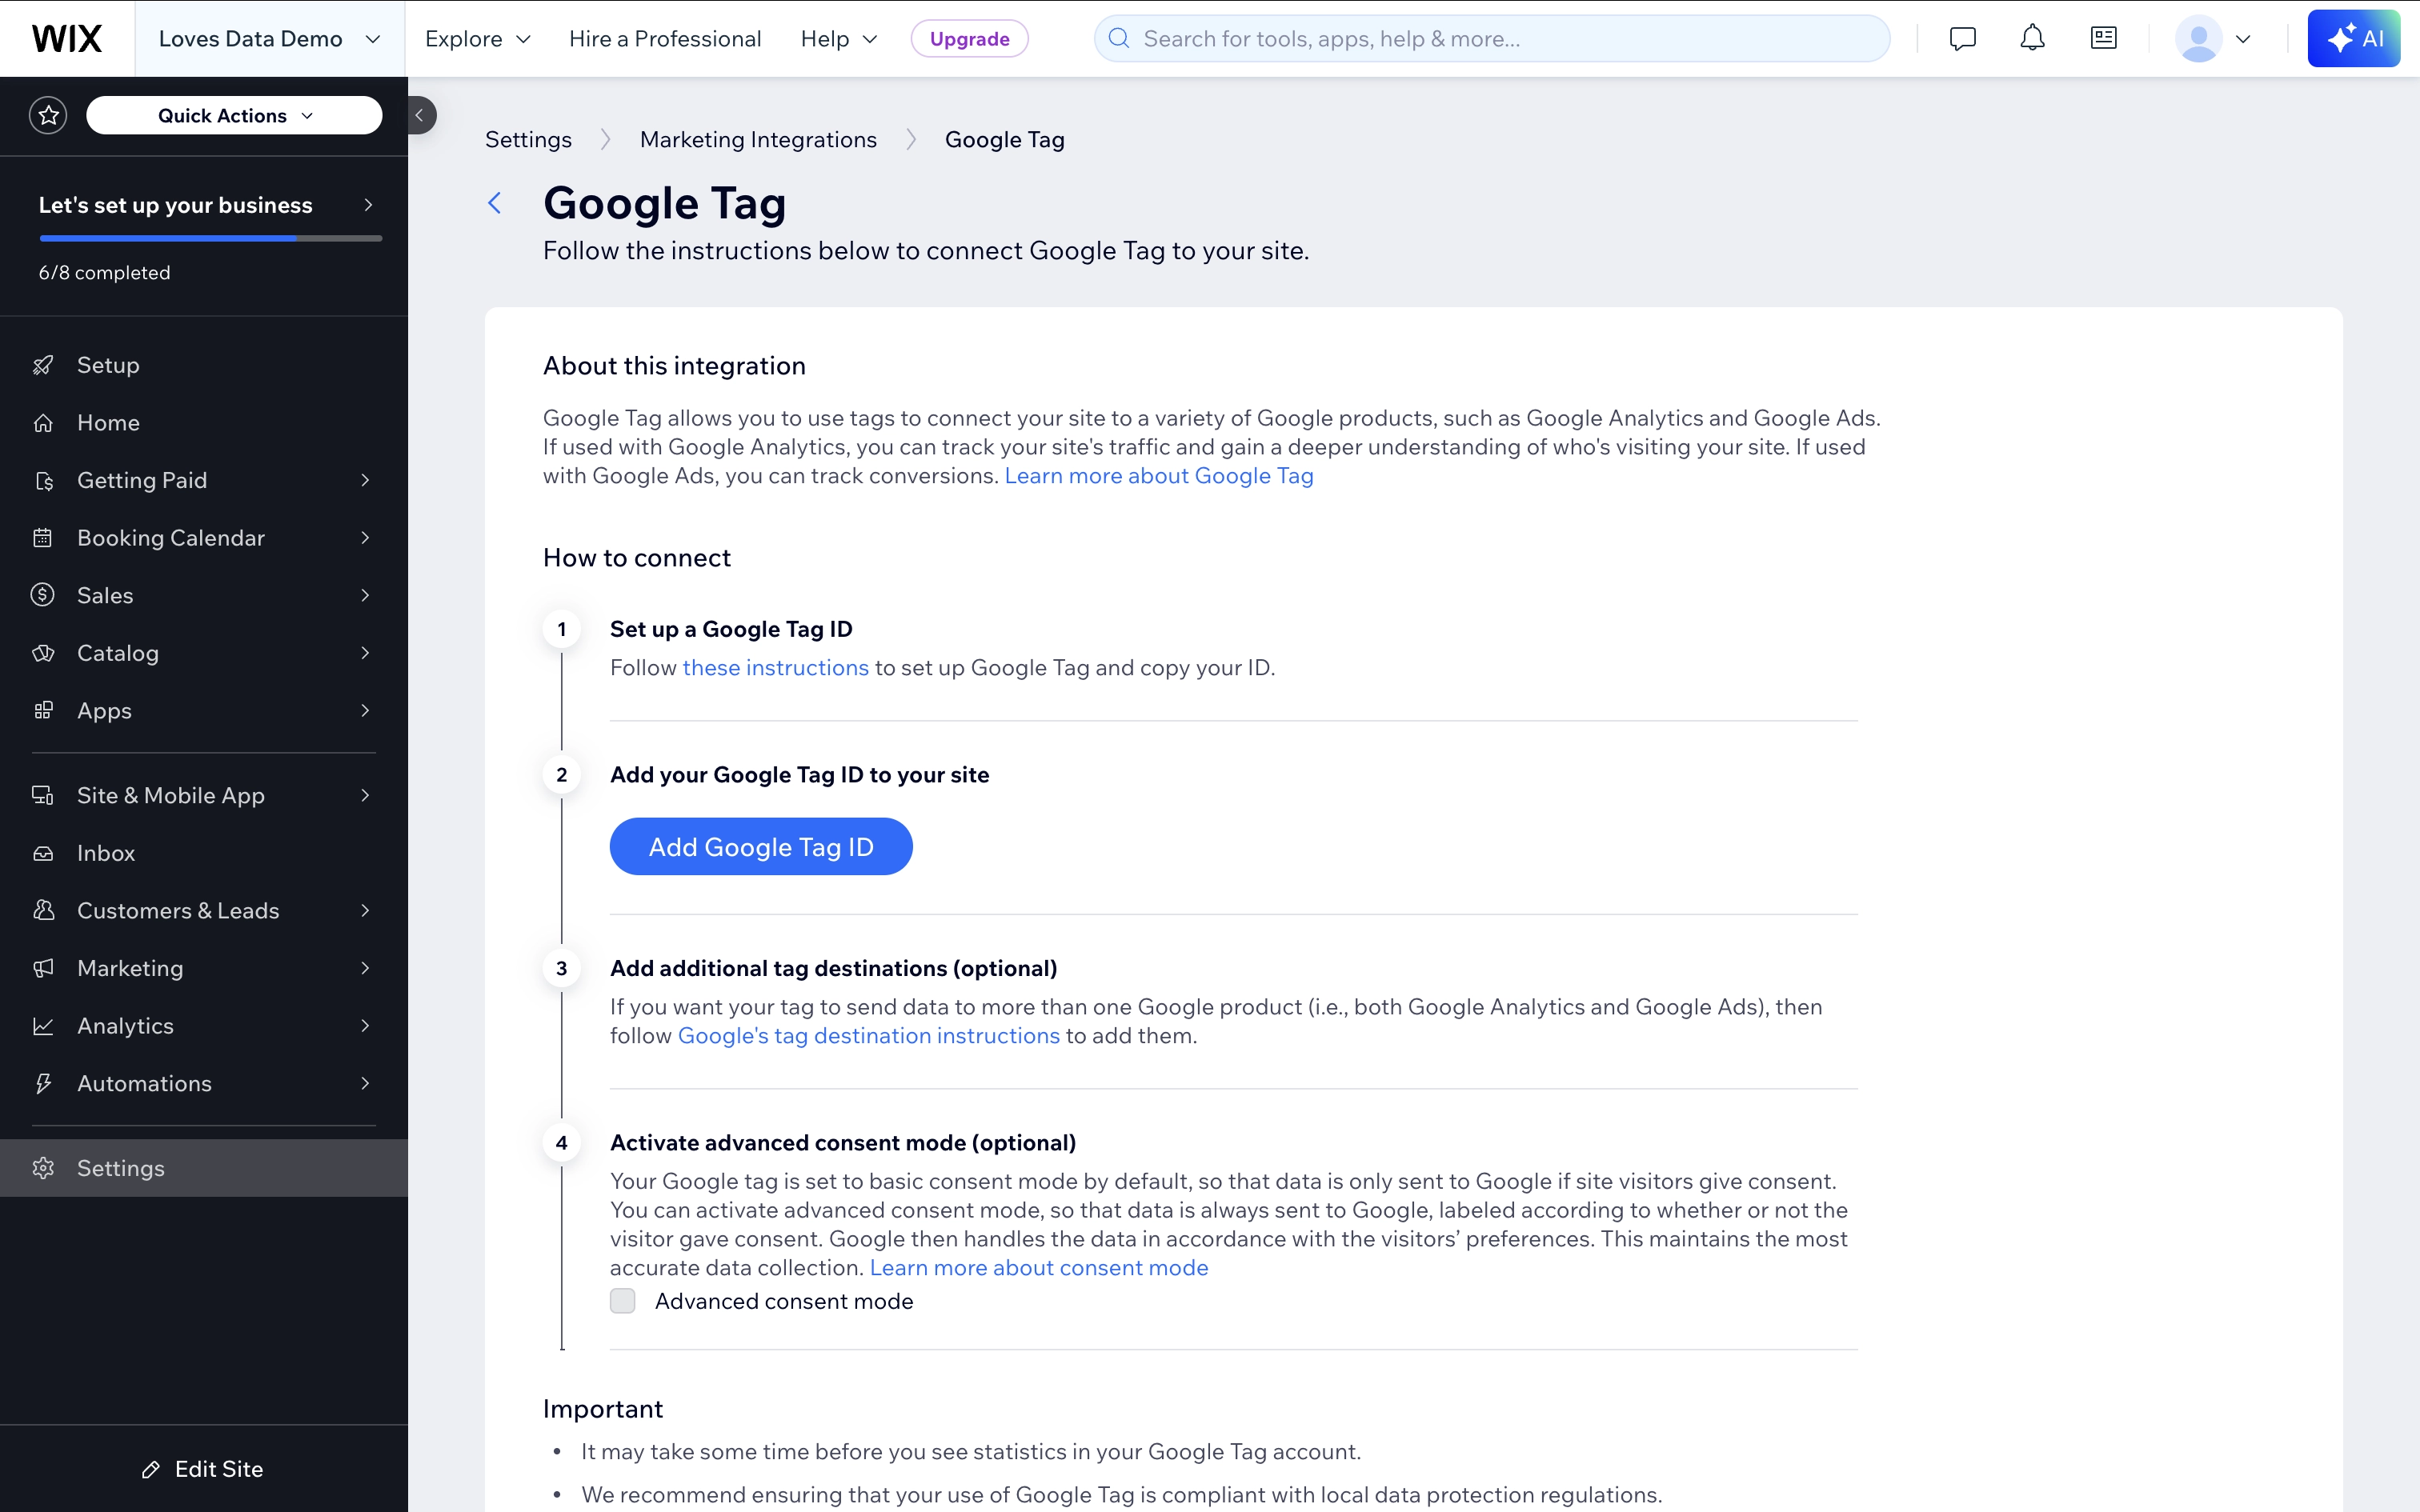
- Click 'Save'.
This connects your site directly to GA4 and starts collecting data – including ecommerce events if you're selling items on your Wix website.
Tip: Enable 'Advanced Consent Mode' if you're using a cookie banner. This lets GA4 collect basic, anonymous data until consent is given using your cookie banner.
Option 2: Install GA4 Using Google Tag Manager
If you've decided to using Google Tag Manager, you will have some extra steps to complete to begin collecting data from your Wix website into GA4. Overall, you will need to add GTM to Wix, ensure your GTM container includes a Google Tag to send data to GA4, and if you're selling online you will also need to set up ecommerce tracking in GTM.
Connect GTM to Wix
- In your Wix dashboard, navigate to 'Settings' and then 'Marketing Integrations'.
- Under 'Google Tag Manager', click 'Connect'.
- Select 'Add Google Tag Manager', paste your GTM container ID, and click 'Save'.
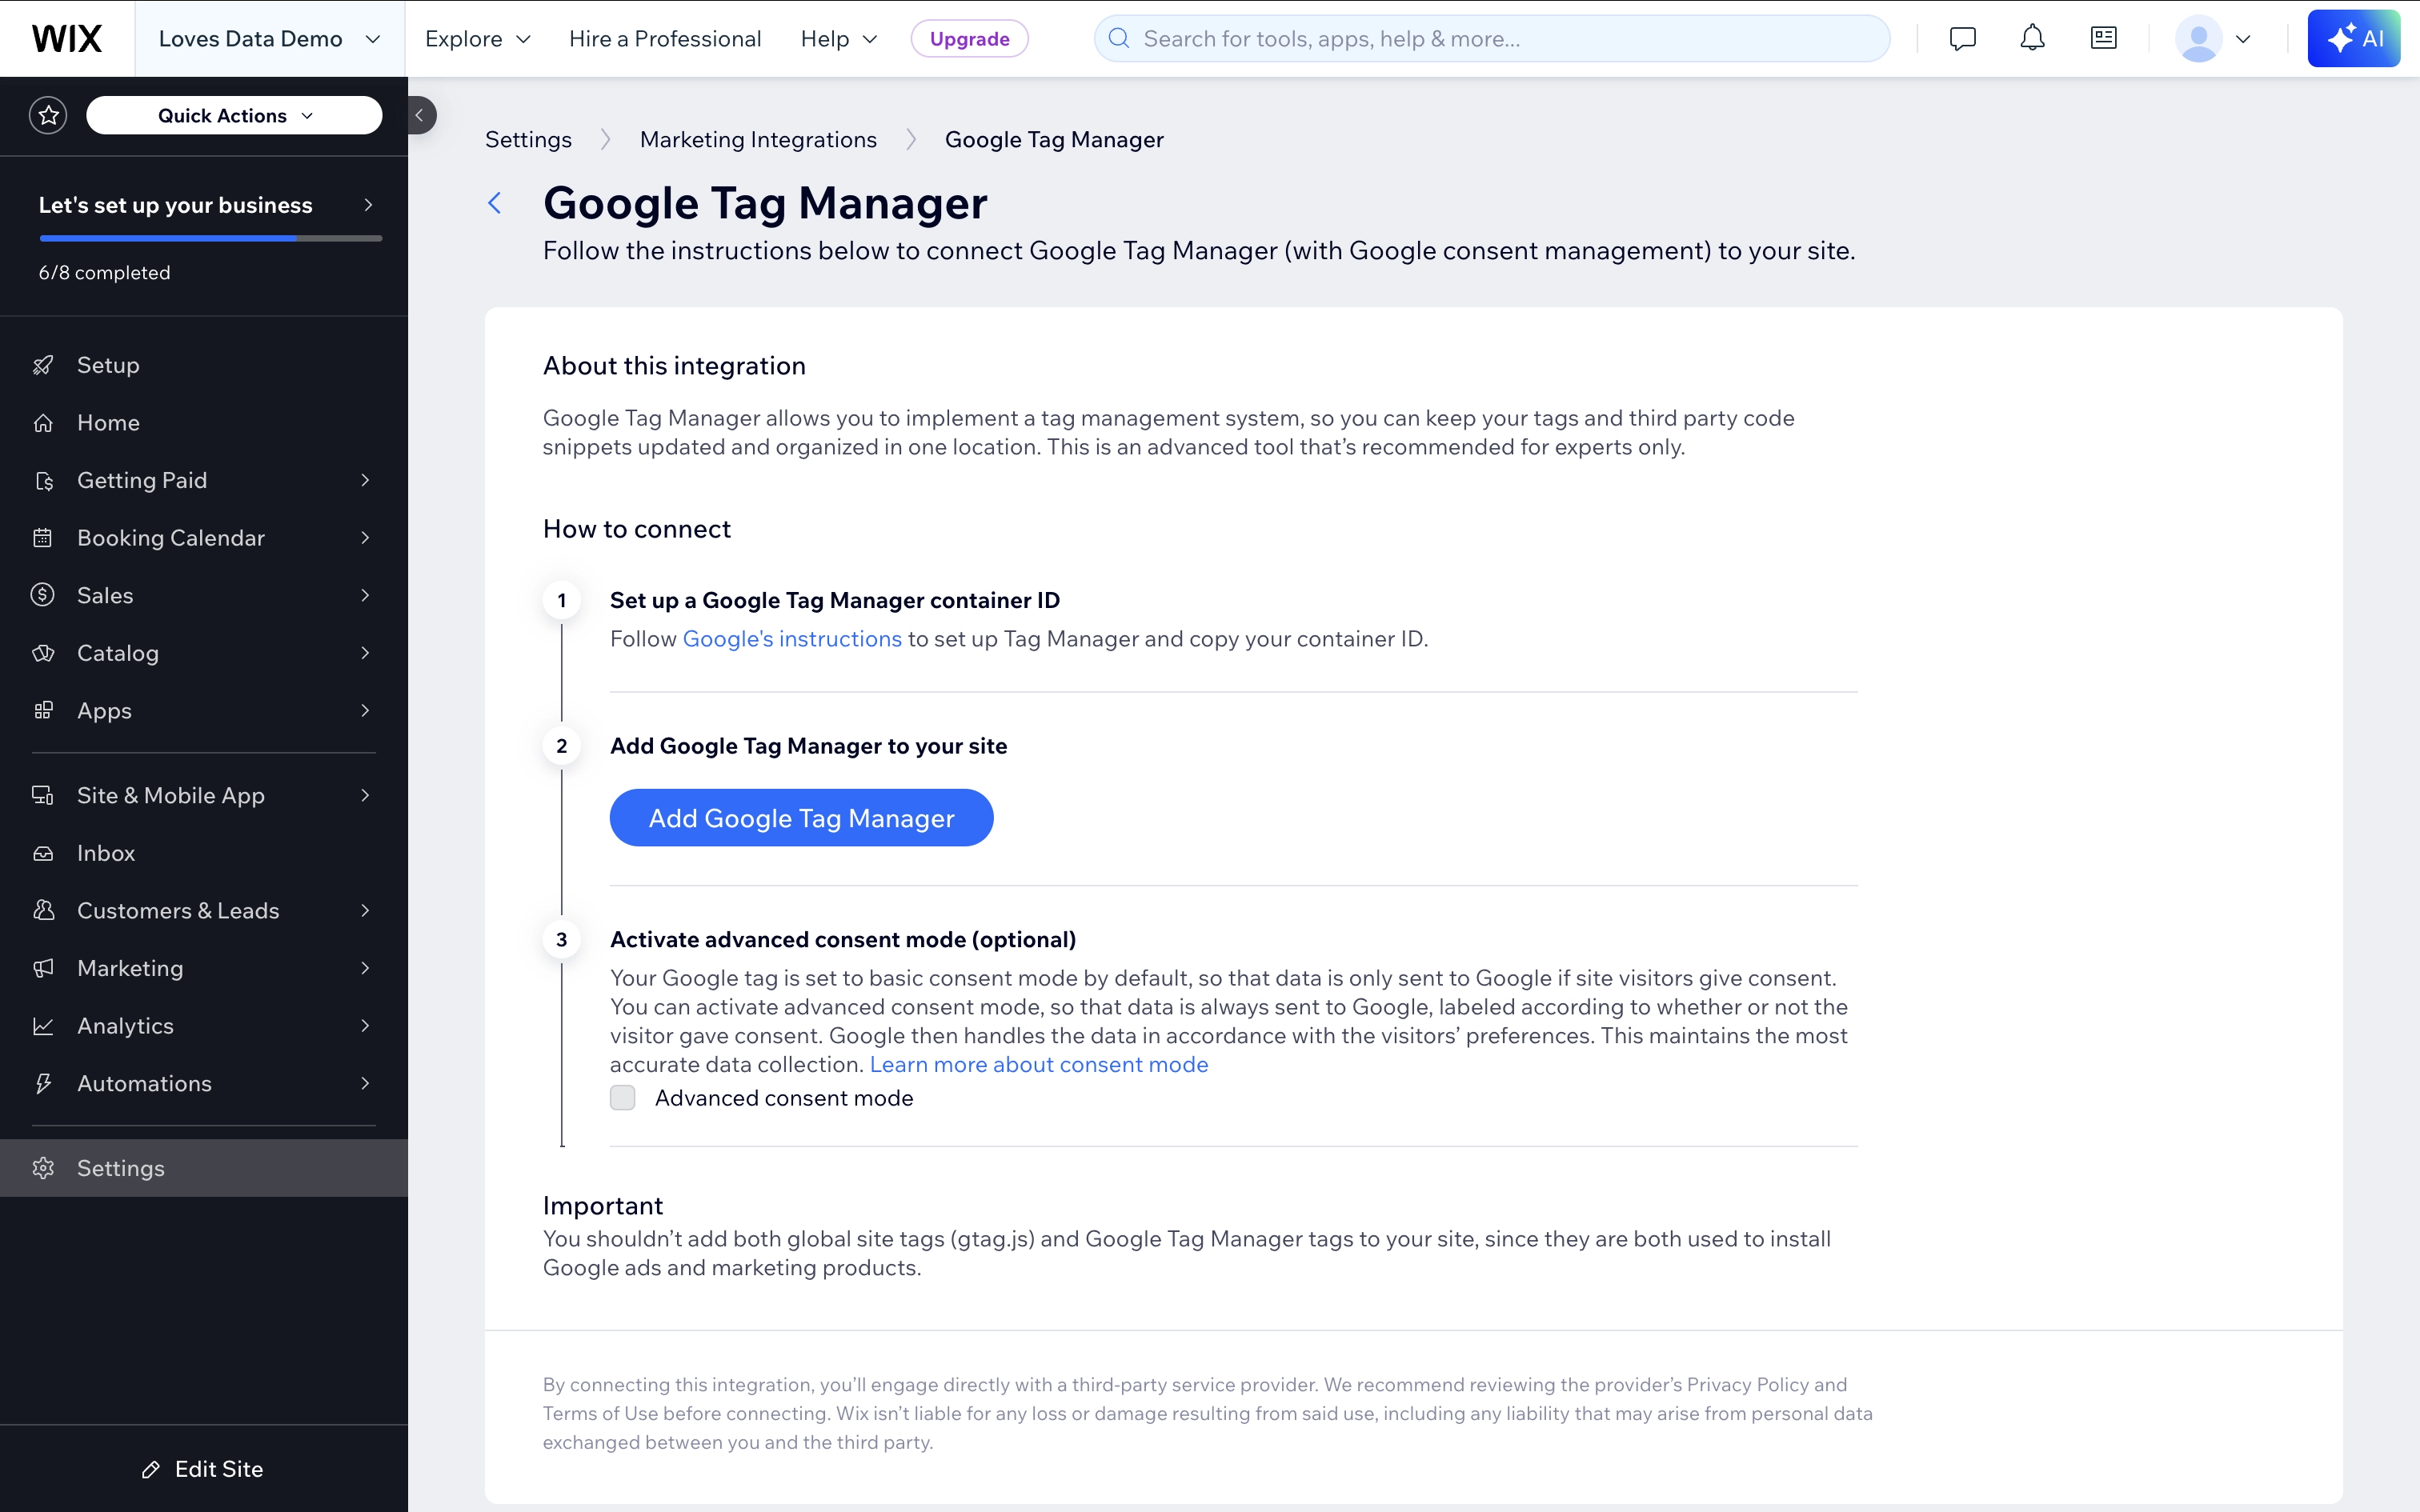
- Enable 'Advanced Consent Mode' if you're using a cookie banner on your Wix website. This will send basic, anonymous data until people have granted consent to storing cookies on their browser.
Add GA4 to GTM
If you're getting started with Google Tag Manager, you will need to create a tag to send data to GA4 in your container. Here are the steps to do this.
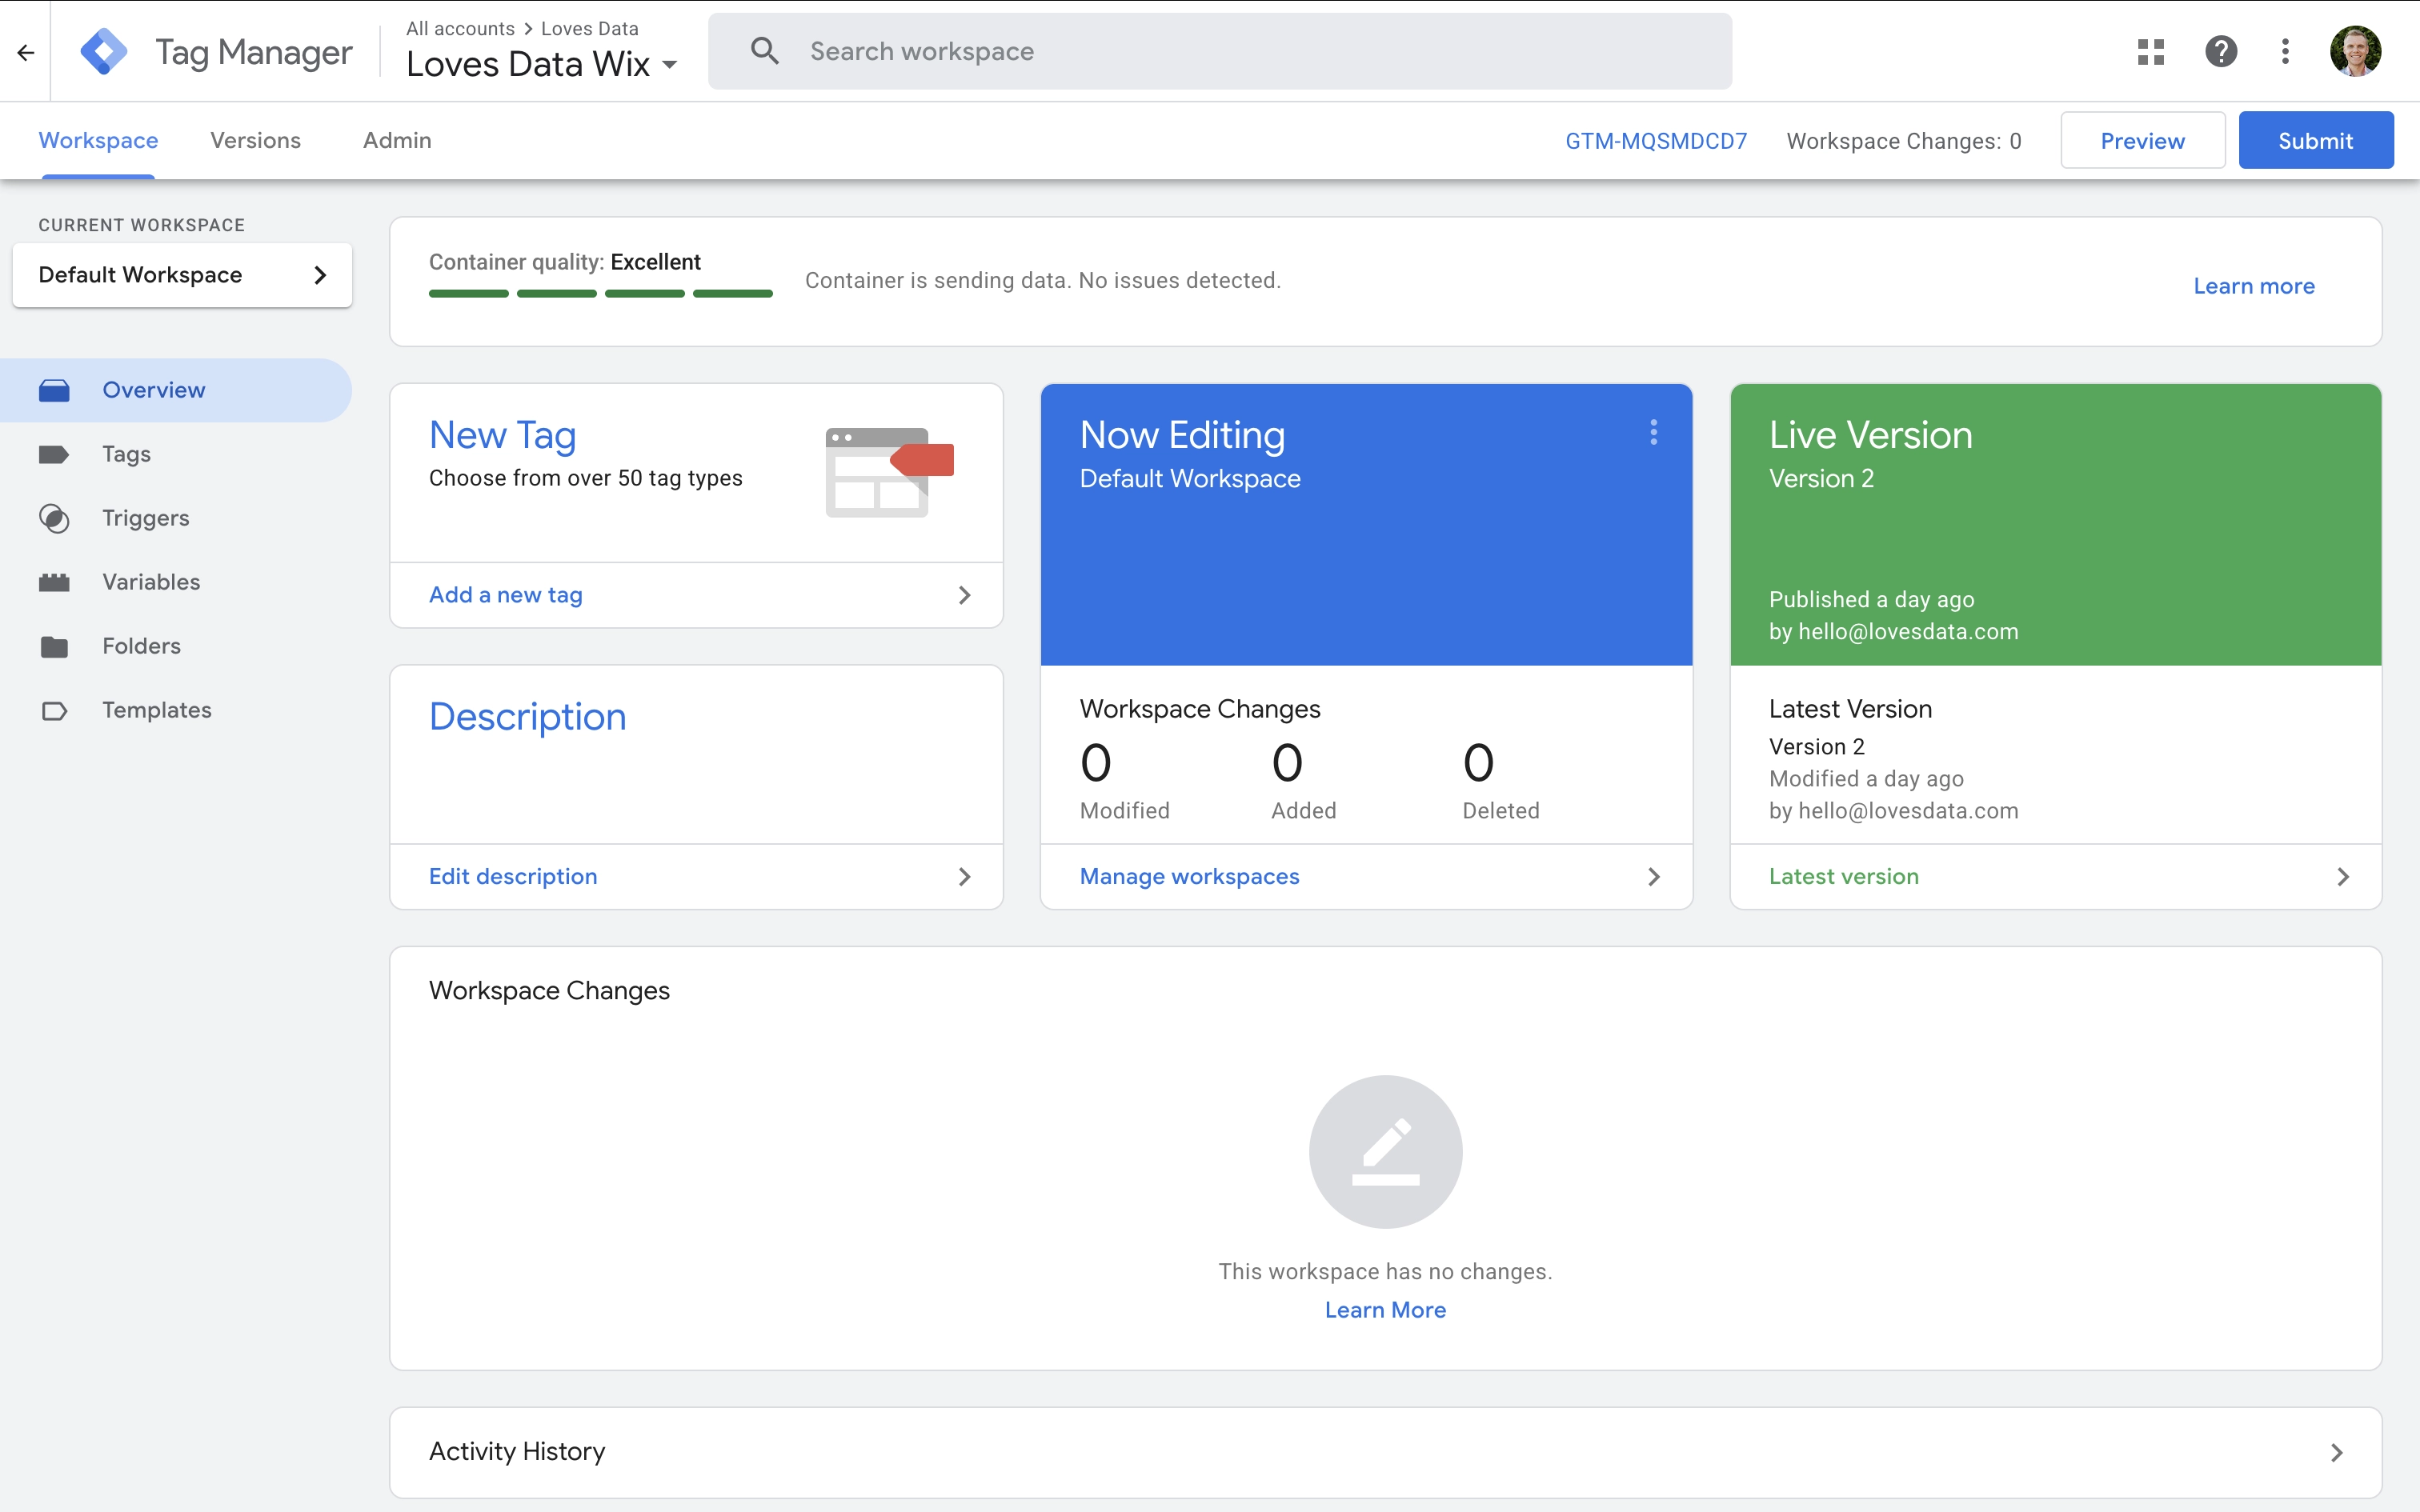
- Open your GTM container and create a new tag called 'Google Analytics | GA4 | Page View' or similar.
- Select 'Google Tag' as the tag type.
- Click the variable icon for the 'Tag ID' and create a new variable:
- Name: GA4 Measurement ID
- Type: Constant
- Value: This should be your GA4 Measurement ID
- Select 'Initialization – All Pages' as the trigger.
- Save your tag.
- Test that everything is working by clicking 'Preview' and when you're happy, click 'Submit' in GTM to publish your container to your live Wix website.
Optional: Add Ecommerce Tracking to GTM
If you’re selling products and want to track ecommerce events like view_item, add_to_cart, begin_checkout, purchase, and more, you will need to set this up in Google Tag Manager.
To make this quicker and easier, I recommend downloading my pre-configured GTM ecommerce container.
Get the GTM ecommerce container
- Download my pre-configured GTM ecommerce container.
- In GTM, navigate to 'Admin' and select 'Import Container'.
- Select the file and choose your existing workspace.
- Select 'Merge' to keep existing tags and add the new ones, then import the container.
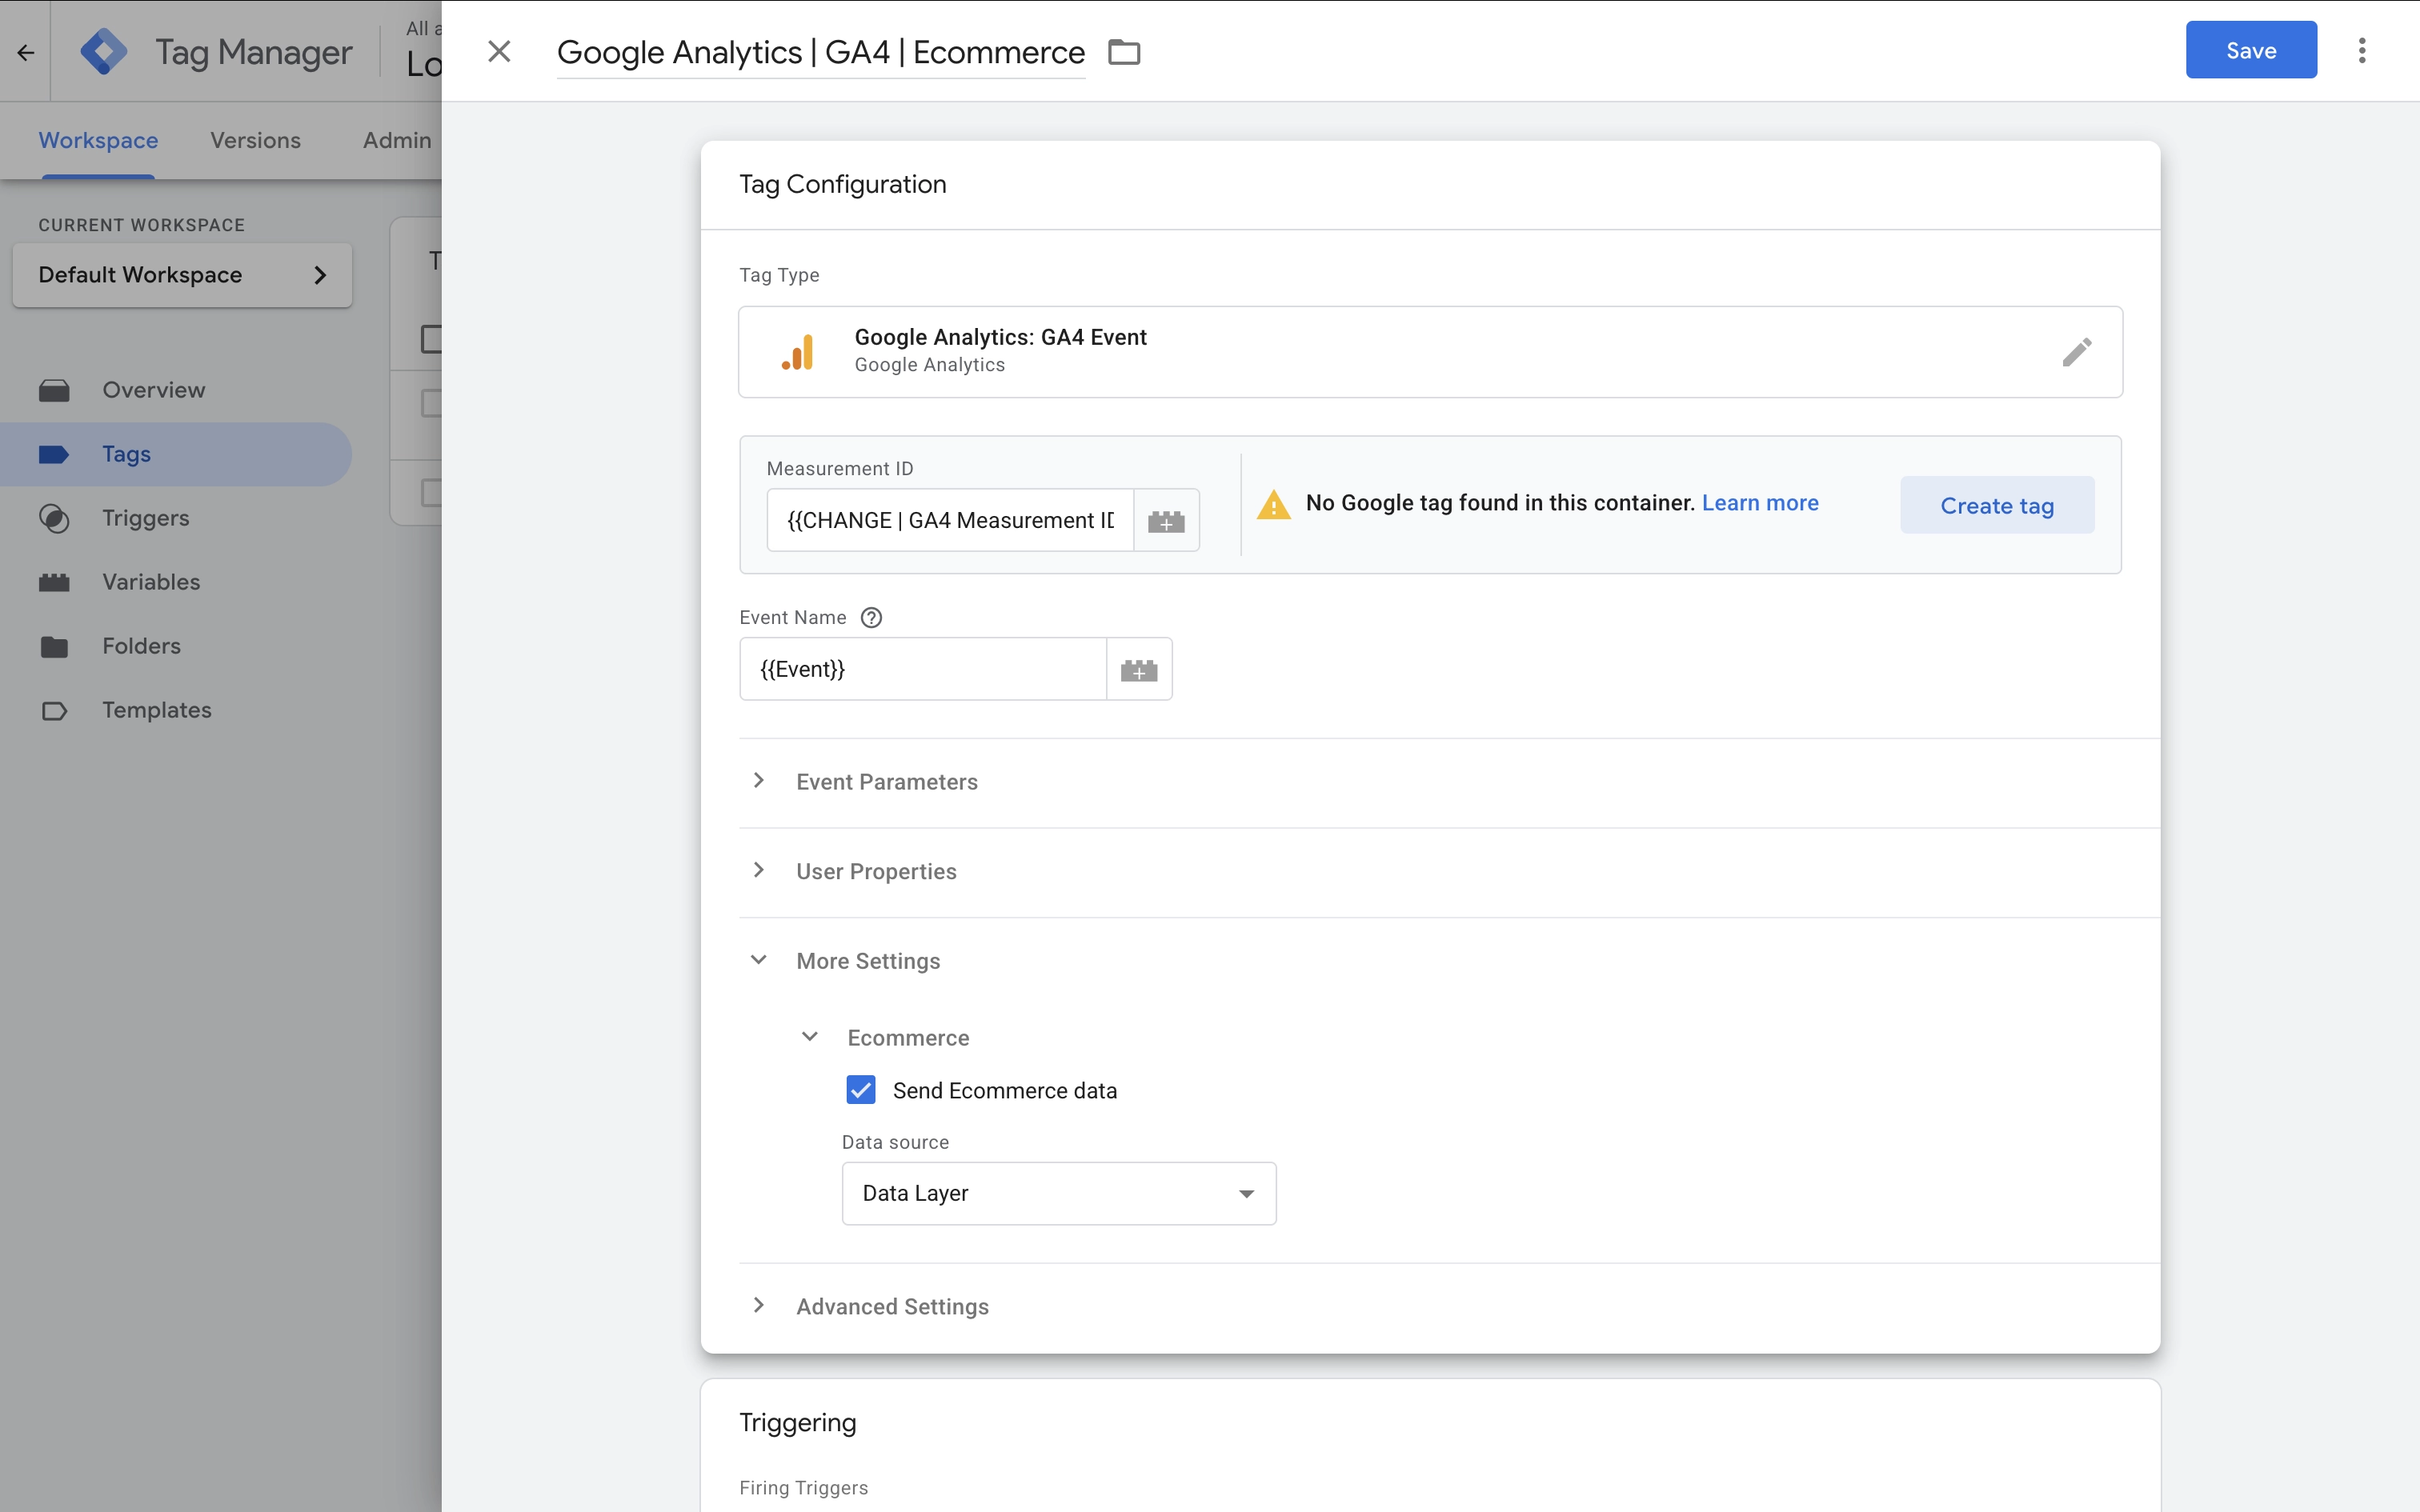
- Open the ecommerce tag and update it to use your GA4 Measurement ID variable.
- Click 'Save', test that everything is working using the preview mode, and then click 'Submit' to publish the changes to your live Wix website.
5. Test Your Setup
To confirm your setup is working:
- If you're using GTM, then click 'Preview' in your GTM container to load Google Tag Assistant. If you're using the Google Tag, then navigate to tagassistant.google.com.
- Enter the URL for your Wix website and click 'Connect'.
- Navigate through your site and complete the actions you're tracking into GA4. For example, view a product, add it to the cart, and complete a test purchase.
- Return to Tag Assistant to confirm events like
page_view,view_item,add_to_cart, andpurchaseare firing correctly.
Tip: You can also use the DebugView in GA4 to validate incoming data. You will find this in Google Analytics by navigating to 'Admin', selecting 'Data Display', and then 'DebugView'.
6. Avoid Duplicate Installations in Wix
Important: Don’t use both the Google Tag and Google Tag Manager integration options at the same time in Wix. This will result in duplicate events being sent to Google Analytics.
If you’ve switched to GTM from the Google Tag, make sure to remove the Google Tag integration from Wix. To do this, follow these steps:
- Navigate to 'Settings' and then 'Marketing Integrations' in your Wix dashboard.
- Under 'Google Tag', click 'View'.
- Click the three dots on the top right corner and select 'Delete'.
Next Steps
- Want to track conversions or setup custom events? Let me know in the comments.
- Take your skills further with my Google Analytics and GTM courses.
- Explore more tutorials on ecommerce tracking, consent mode, and advanced GA4 setups.